
5 Tips for winterizing the garden
There are a myriad of ways people handle putting their gardens to bed for the year. It’s really difficult to condense this down to a few important tips, but these are 5 practices that have worked well for us.
Snip - do not pull!

We now know better than to pull out all the roots!
It can be very tempting at the end of the year to go around and remove the plants by pulling them out by their roots…but these roots are actually valuable food for the microscopic organisms living in the soil. Removing them means removing a valuable winter food source, so instead of pulling the plants out (and disturbing the soil microbiome in turn), we snip the plant stems off at the base of the soil. Over the winter, the microorganisms will do the work of decomposing the decaying plant matter, and by spring, there will be little left. The only exception to this is if a plant has a notable disease; in that instance, we will remove the roots to mitigate the spread of the disease.
Since we have adopted this practice, we have noted a significant improvement in our overall soil health.
2. Top it up!
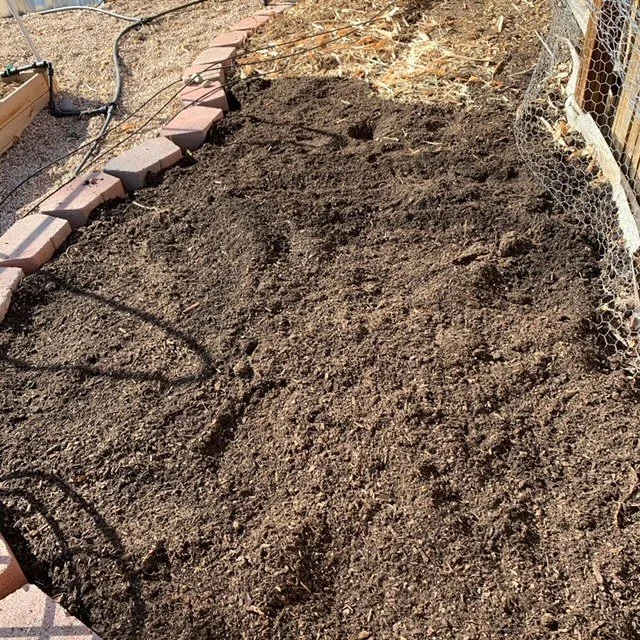
Adding soil and compost at the end of the season.
Soil compaction can be normal, especially if using newer raised beds. The overall level of the soil can recede, and requires being topped up. We prefer to do this in the fall, when we are adding nutrients back into the soil. At the end of the season, we typically add a 50:50 mix of raised bed mix:compost. Adding 2-3 inches of compost at the end of the season is a great way to add depleted nutrients back into the soil (more info on soil amendments is under #4 below).
3. Keep it covered!
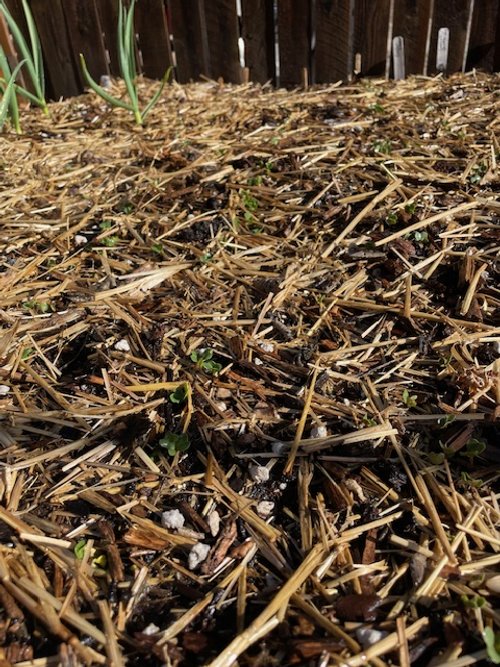
Covered soil is healthy soil!
It’s always important to have a layer of mulch to protect soil and prevent it from being solarized; but it’s especially important over the winter. The variance in temperatures, altitude, wind, and UV exposure we get in Denver make winter a challenge. Keeping your soil covered is extremely important at the end of the season. There are several ways to do this; you can use mulch (wood chips, leaf litter, or straw), a silage tarp, or even leftover cardboard boxes. As long as you have a barrier down between the soil and the sunlight, your soil will be in much better shape in the spring.
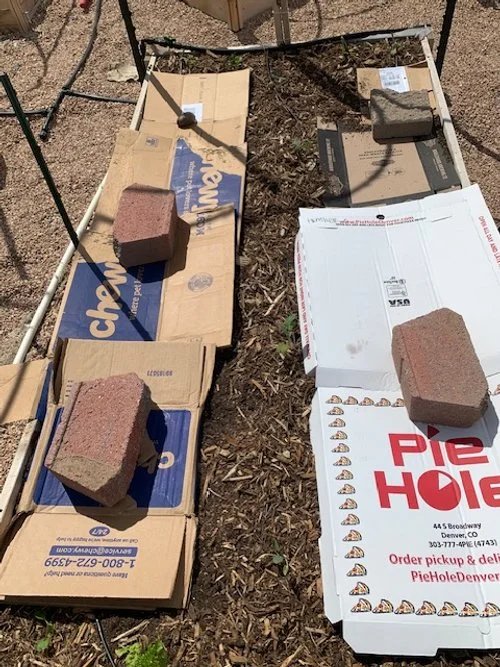
Not the best looking solution, but a cost-effective one.

Our favorite soil cover is straw; make sure to get alfalfa-free bales to avoid having seeds germinate. We buy ours from a local fall plant sale; you can purchase them at local garden centers as well. Straw eventually breaks down and provides nitrogen, improves moisture retention, and provides beneficial soil bacteria with a food source.
If using mulch, be sure not to add more than 2-3 inches to the top of your beds; too much can block airflow and be counterproductive and negatively effect soil mycorrhizal fungi.
4. Test it out!
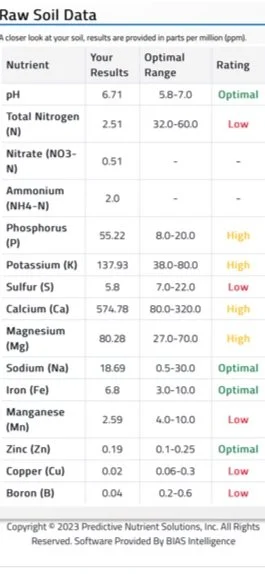
Results of a previous soil test
If you noticed a particular issue in your garden; maybe something did very poorly, or overall, you didn’t have the production you expected, a soil test is a great thing to do before spending money on soil amendments. When we were new gardeners, we just peppered in things we thought might help at the end of the season without any real insight into what was going on in our soil. You can see from the results of our soil test above, that adding phosphorus to our soil for instance would’ve only increased our soil imbalance. Additives can sometimes hurt more than help, especially if you’re not sure what the overall picture looks like.
You can obtain a soil test from your local extension program; they often have experts who can help interpret the results and provide insight on amendments. There are also online companies who offer soil testing; it’s a valuable thing to do every few years, and though somewhat costly, it has the potential to save time and money later on.
5. Be Retrospective!
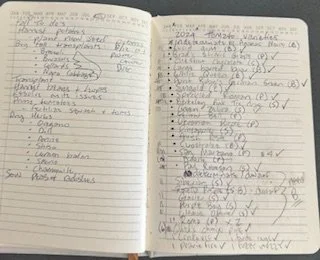
A snapshot of our garden journal
It could be the inner project manager in me, but I love a good retrospective. Sitting down at the end of the year to review what was planted where, what did well, what you really enjoyed growing (and eating), what didn’t do well, and what could be better next year are keys to year-over-year success.
We typically go through and highlight favorite varieties and note down where we had any issues. For instance, this year we had some challenges with blight in one of our raised beds, so we will note that down and avoid planting tomatoes in that bed for a few years going forward. We could chance remembering that information next spring, but having it in writing ensures it will not be forgotten during the rush of planning and planting season. A garden journal can become a valuable asset to understanding and enhancing your garden space. For folks who prefer an electronic option, a spreadsheet can be a great option.
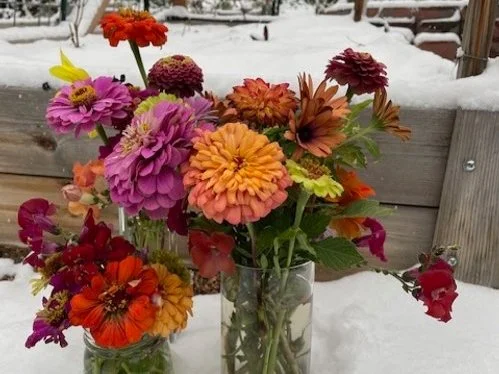
For everything, there is a season
It’s difficult to believe it’s late October and we’re still harvesting peppers, but the time for summer veggies is coming to an end with the cooler night temperatures, even though we haven’t had a frost yet. We will begin the process of winterizing our summer garden beds over the next week, and look forward to a large end-of-summer produce donation. It’s always a little bittersweet to let the summer garden go, but we look forward to the quiet and rest that fall and winter bring. Of course, it helps to have a fully stocked pantry/freezer full of summer goodies!